main-dish
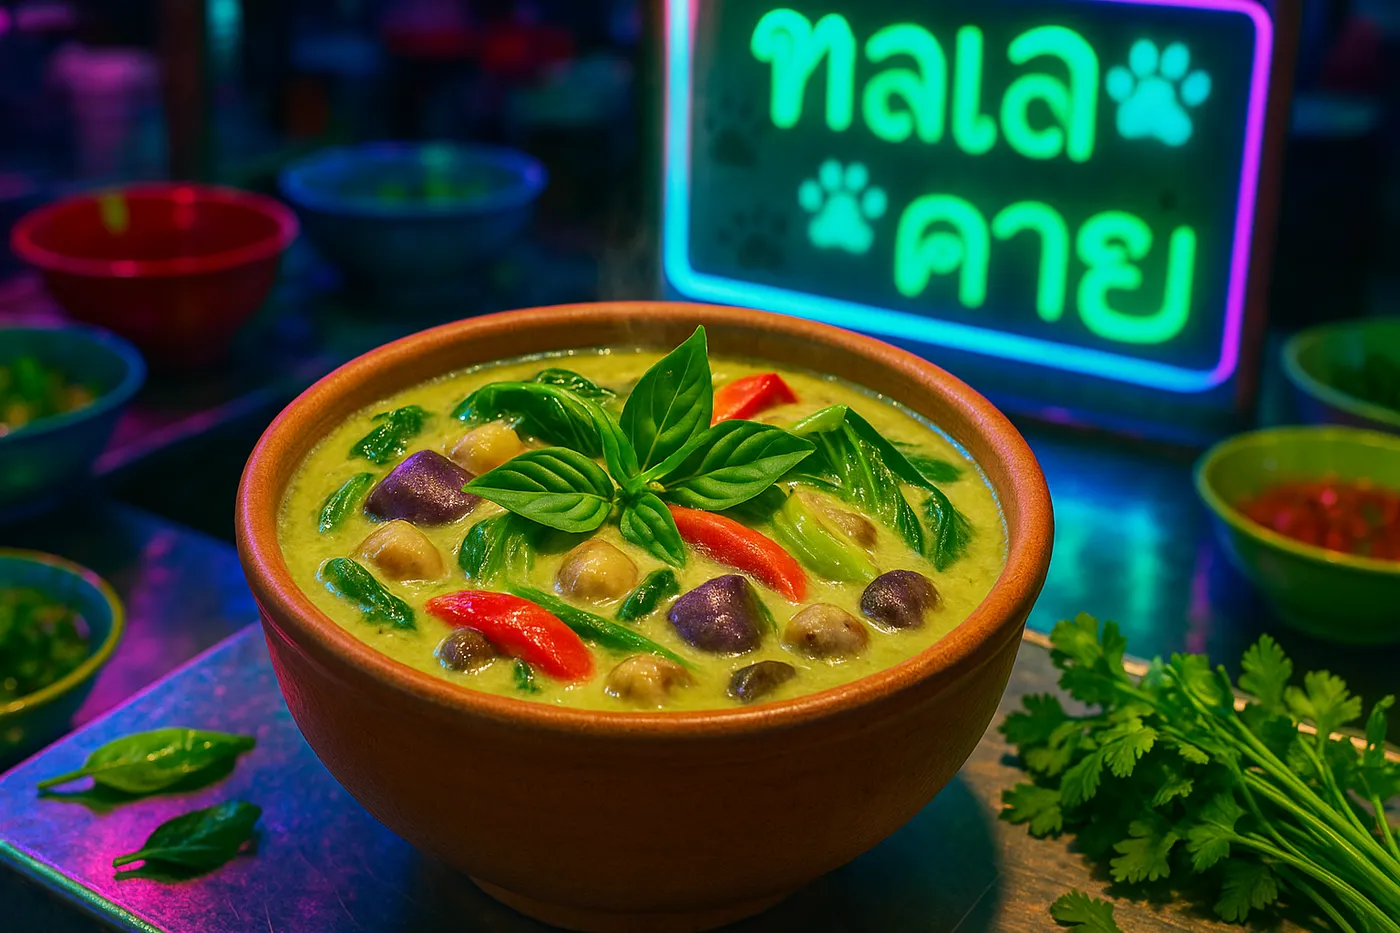
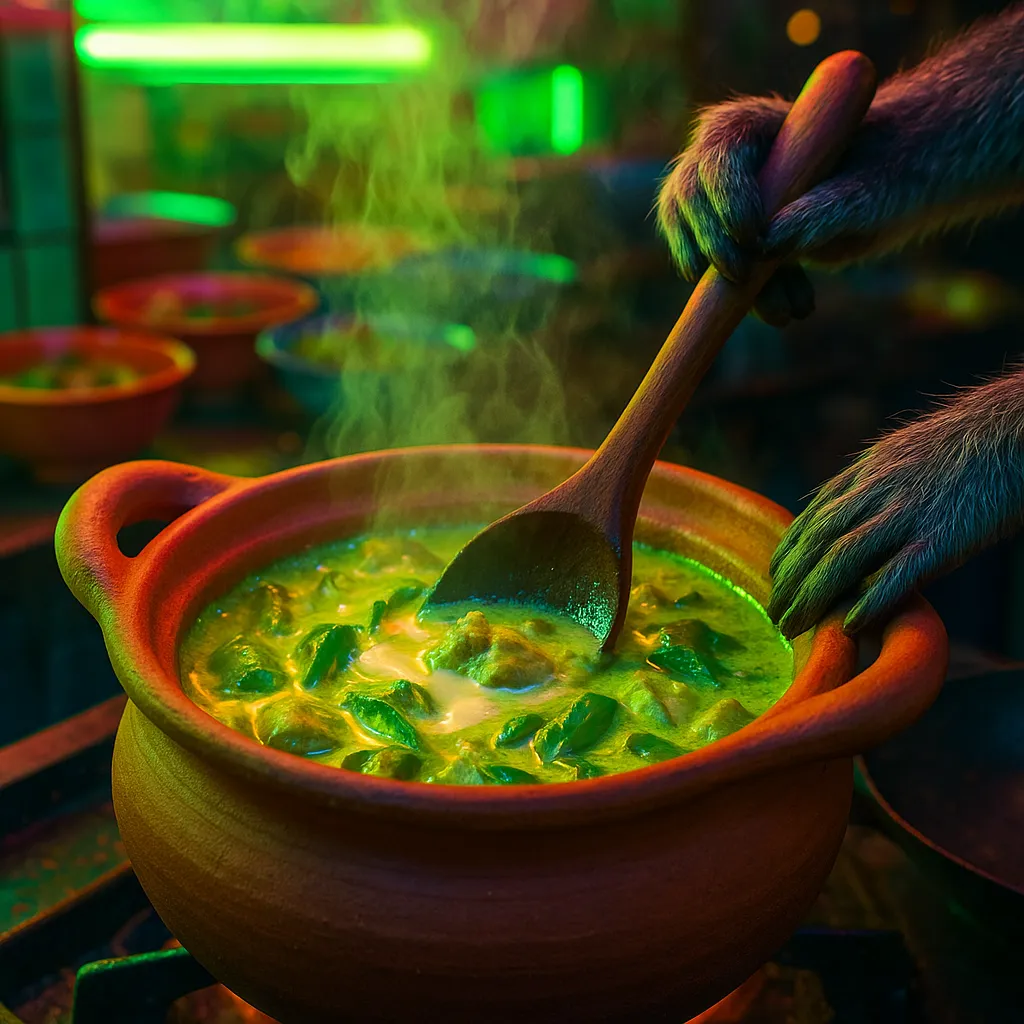
Thai Green Curry with Vegetables

Prep: 45 minutes
Cook: 25 minutes
Real green curry paste requires fifteen minutes of steady pounding with a mortar and pestle—your arm will ache, but that's the price of proper curry. Each ingredient gets broken down in order, building layers of flavor that bloom differently when they hit hot coconut cream.
Ingredients
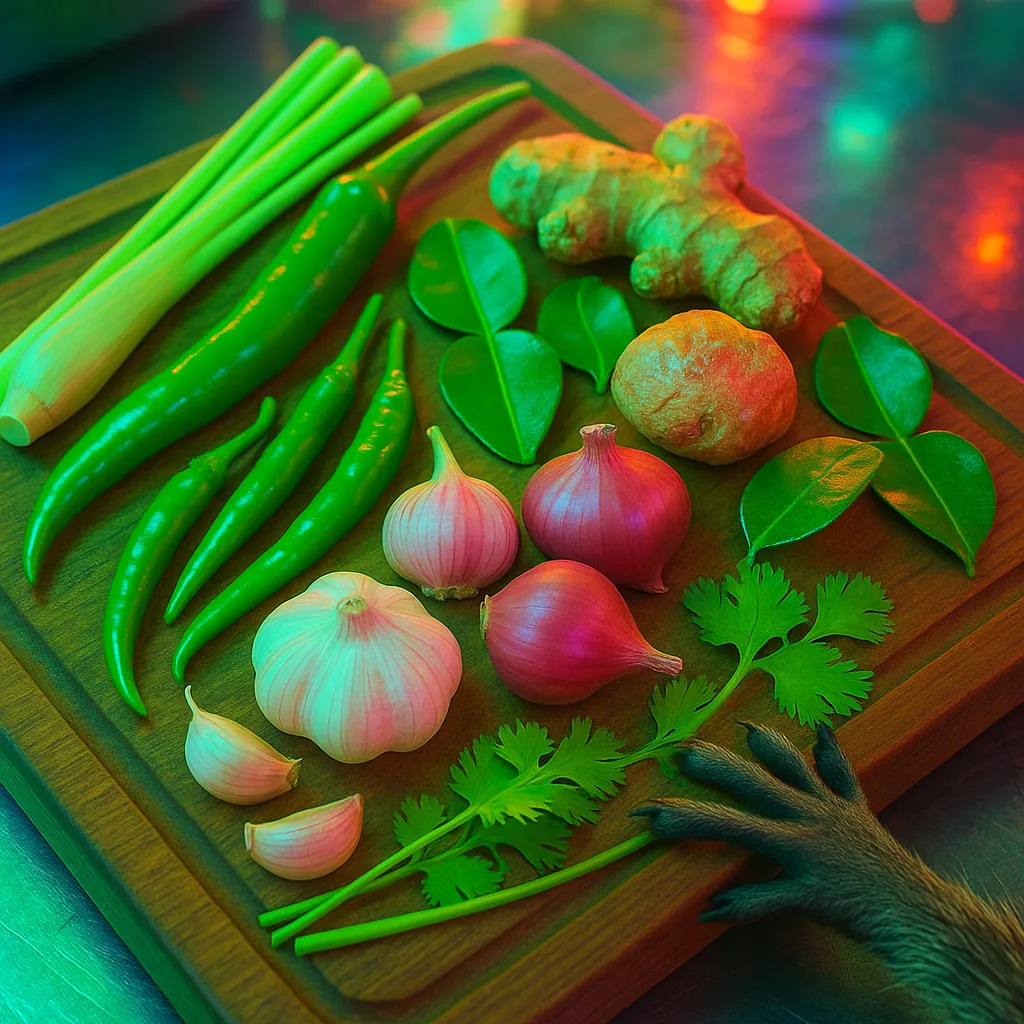
For the Green Curry Paste
🌶️ 8-10 fresh green bird's eye chilies (adjust to taste)
🌶️ 2 large green chilies, seeded
🧄 6 garlic cloves
🧅 3 shallots, roughly chopped
🫚 2-inch piece fresh ginger, peeled
🌿 2 lemongrass stalks, tender white parts only
🍃 4 kaffir lime leaves, stems removed
🌿 1/4 cup fresh cilantro stems
🧂 1 teaspoon sea salt
🫒 2 tablespoons vegetable oil
For the Curry
🥥 2 cans (400ml each) coconut milk, separated
🧅 1 large onion, sliced
🍆 2 Asian eggplants, cut into chunks
🫑 1 red bell pepper, sliced
🥒 1 small zucchini, sliced
🍄 200g mushrooms (shiitake or oyster), halved
🫛 150g green beans, trimmed
🥬 2 cups baby bok choy, halved
🍃 1/4 cup fresh Thai basil leaves
🌿 2 tablespoons cilantro leaves
🧂 2 tablespoons soy sauce
🍯 1 tablespoon palm sugar (or brown sugar)
🍋 2 tablespoons lime juice
🌶️ Extra chilies for garnish
Instructions
Making the Curry Paste
-
Prep everything first – Thai cooking moves fast once you start. Roughly chop the chilies, garlic, shallots, ginger, and lemongrass. The smaller you cut them, the easier they'll be to pound.
-
Start with the hardest ingredients – In a large mortar and pestle, pound the chilies and salt first. The salt acts as an abrasive. Work in circular motions, not just up and down. This takes about 3-4 minutes of steady pounding.
-
Add aromatics gradually – Add garlic and shallots next, pounding until they break down. Then ginger, lemongrass, and kaffir lime leaves. Each addition should be mostly smooth before adding the next. The whole process takes about 15 minutes of active pounding.
-
Finish with herbs – Add cilantro stems last and pound until you have a rough paste. It won't be perfectly smooth like store-bought, and that's exactly what you want.
Note: You can use a food processor if needed, but add the oil and pulse in short bursts. The texture won't be quite the same, but it'll still be delicious.
Cooking the Curry
-
Bloom the paste – Heat a wok or large pan over medium-high heat. Scoop out the thick coconut cream from the top of one can (save the thin milk). Fry 3-4 tablespoons of your curry paste in the thick cream for 2-3 minutes until fragrant and the oil starts to separate.
-
Add the vegetables strategically – Start with onions and cook for 2 minutes. Add the harder vegetables like eggplant and bell peppers, cooking for another 3-4 minutes.
-
Build the sauce – Pour in the remaining coconut milk (both thick and thin parts from both cans). Bring to a gentle simmer. Add soy sauce and palm sugar, stirring to dissolve.
-
Finish with delicate vegetables – Add zucchini, mushrooms, and green beans. Simmer for 5-6 minutes until just tender. In the last minute, add bok choy and half the Thai basil.
-
Balance the flavors – Taste and adjust with more soy sauce (for saltiness), palm sugar (for sweetness), or lime juice (for brightness). The curry should be aromatic, slightly sweet, with a lingering heat.
Green Curry Process Flow
Timing Guide:
timeline
    title Green Curry Timeline (45 min total)

    0:00 : Start Pounding Paste
    0:15 : Paste Complete
    0:20 : Bloom in Coconut Cream
    0:25 : Add Hard Vegetables
    0:30 : Add Coconut Milk
    0:35 : Add Soft Vegetables
    0:40 : Final Seasoning
    0:45 : Garnish & Serve
Critical Steps:
- Pound paste ingredients in order of hardness
- Oil separation when blooming = flavor development
- Don't overcook vegetables - keep some texture
Serving & Variations
Serve immediately over jasmine rice with the remaining Thai basil leaves and extra chilies on the side. The curry is best eaten fresh, but the paste can be made days ahead and stored in the fridge.
Protein additions: Add firm tofu in step 6, or swap some vegetables for bamboo shoots and Thai eggplant if you can find them.
Heat level: Start with fewer chilies—you can always add more, but you can't take them out. The vendor who taught me this always said "curry should make you sweat a little, but still want more."
Make-ahead tip: The curry paste actually improves after a day in the fridge. Make extra and freeze portions in ice cube trays for quick weeknight curries.
This curry connects back to those early morning market walks in Bangkok, where the air was thick with coconut steam and chili heat. Every bowl tells the story of patient hands crushing spices, building flavors that can't be rushed or faked.
Links to: Thailand • Thai Coconut Pancakes • Pad Thai